Overriding Standard button with visualforce page
Overriding Standard button with visualforce page
By using visualforce pages we can override standard buttons. This example helps you to understand how you can overriding standard button with visualforce page. In this example i am creating visualforce page called “newopportunitycreatepage” and I am overriding standard new button with above created visualforce page.
below is code for “create newopportunitycreatepage” ( to crate vf page go to How to create visualforce page?)
<apex:page standardController=”Opportunity” sidebar=”false”>
<apex:form >
<apex:pageBlock title=”Opportunity Detail”>
<apex:pageBlockbuttons >
<apex:commandButton value=”Save Opportunity” action=”{!save}”/>
</apex:pageBlockbuttons>
<apex:pageBlockSection title=”Opportunity Information 1″ columns=”2″ collapsible=”false”>
<apex:inputField value=”{!opportunity.Name}”/>
<apex:inputField value=”{!opportunity.Active__c}”/>
<apex:inputField value=”{!opportunity.DeliveryInstallationStatus__c}”/>
<apex:inputField value=”{!opportunity.TrackingNumber__c}”/>
<apex:inputField value=”{!opportunity.CloseDate}”/>
</apex:pageBlockSection>
<apex:pageBlockSection title=”Opportunity Information 2″ columns=”2″ collapsible=”false”>
<apex:inputField value=”{!opportunity.Description}”/>
<apex:inputField value=”{!opportunity.LeadSource}”/>
<apex:inputField value=”{!opportunity.NextStep}”/>
<apex:inputField value=”{!opportunity.Type}”/>
<apex:inputField value=”{!opportunity.StageName}”/>
</apex:pageBlockSection>
</apex:pageBlock>
</apex:form>
</apex:page>
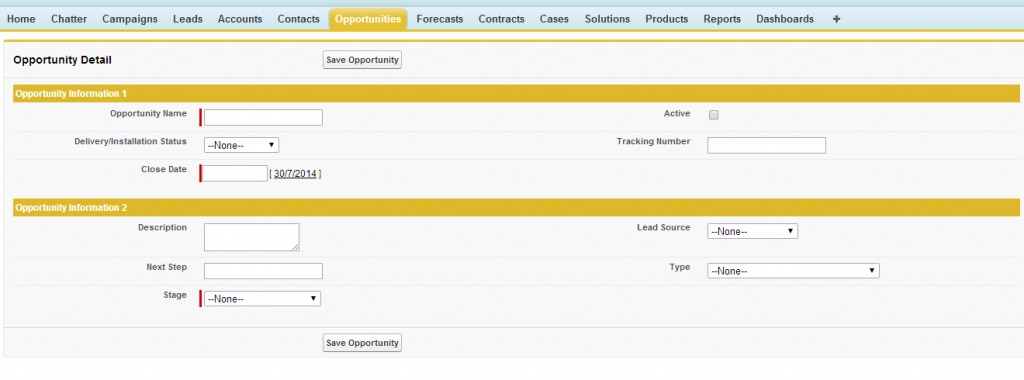
This is simple visual force page code. Below is the output of this code.

Now we are ready with our vf page, next step how to override standard opportunity new button.
Steps to overriding standard buttons
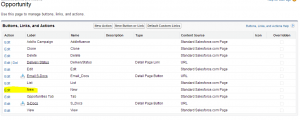
Go to setup -> opportunity -> Buttons,links, and actions, then click edit on new action. see below image for reference.

Next select override with visualforce option and select “newopportunitycreatepage” you created above and save your changes. See the below image for reference.

Now you are done with overriding your standard opportunity new button.
How to test this?
To test this just go to opportunity tab and click on new button. you will get newly created visualforce page. And also you can see the difference in url. Your url will navigate to your visualforce page url.
Hope you under stand how to override standard buttons with visualforce page. By using this you can override stadard buttons for any object(Standard or Custom). But for custom object navigation is different.
For custom object just go to setup -> build -> create ->object -> and select your object there you can find buttons and links section.
Post a Comment